Garage to Granny Flat Conversion: A Step-by-Step Guide
Thinking about a garage to granny flat conversion to add extra living space or rental income to your Adelaide property? A project like this can create a lot of demolition and construction waste, so planning your rubbish removal is just as important as the design. Hiring a skip bin is a simple way to keep your site safe, tidy, and moving smoothly while you work.
Step 1: Check if a garage to granny flat conversion is suitable
Before you start, make sure your garage is actually suitable for conversion. Many Adelaide homes have garages that share walls with the main house or sit right on the boundary, which can affect privacy, fire safety, and access. You’ll also need to think about head height, natural light, ventilation and whether services like power and plumbing can be extended.
It’s a good idea to talk with your local council or a private building certifier to confirm zoning, setback rules, and whether your conversion qualifies as a secondary dwelling. During this early planning phase, you can also estimate how much demolition and building waste you’ll create so you know what size skip bin you’ll need. Looking over Just Skips’ skip bin prices can help you work out costs and budget ahead of time.
Step 2: Plan your layout and design
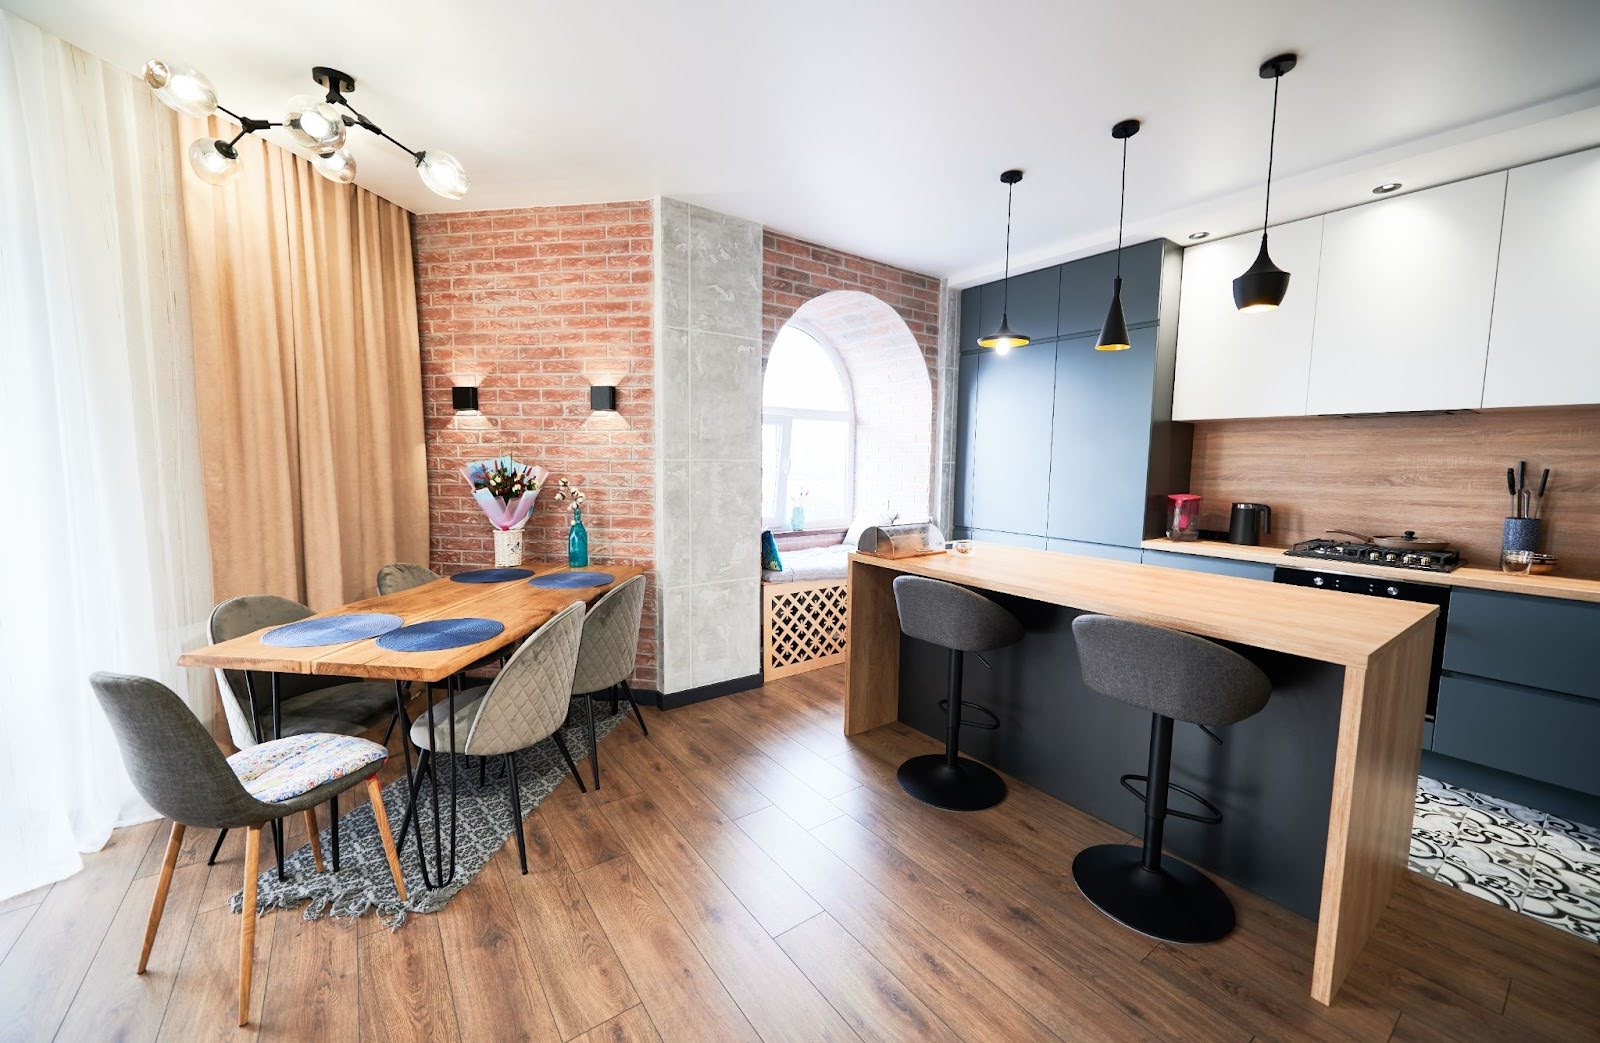
Once you know that a garage to granny flat conversion is possible, start planning the layout. Most granny flats include a bedroom area, small living space, bathroom and kitchenette, all within a compact floor plan, so every metre counts. Think about how to make the most of existing openings, where you’ll add windows or sliding doors, and how the new space will connect to the main yard or house.
This is also the time to decide on finishes like flooring, wall linings, and storage solutions. Smart design choices can help you keep costs under control and reduce waste, especially if you’re reusing some existing materials where it makes sense. If you’re stripping out lots of old cabinetry, shelving or worn flooring, a renovation waste skip bin
can keep the mess contained so you’re not making constant trips to the tip.
Step 3: Get approvals and engage your team
Before any building work starts, you’ll likely need formal approvals. Depending on your council area and the scope of your garage to granny flat conversion, this might mean a development application, building rules consent, or both. An architect, building designer, or draftsperson can help you prepare plans that comply with the National Construction Code and local rules.
You may also want to line up a licensed builder, electrician, and plumber, especially if you’re adding a bathroom or kitchen. At the same time, put a rough timeline together so you can line up your trades and your waste removal. For example, scheduling skip bin delivery to match your demolition phase means you can clear out old materials quickly and keep the project moving.
Step 4: Declutter and empty the garage
Before walls come down or any building starts, you’ll need to completely empty the space. Many garages become storage zones for old furniture, broken tools, boxes, and forgotten appliances, so this can be a big job on its own. Following a simple garage declutter checklist can help you work through everything in a day or two.
Sort items into what you’ll keep, donate, recycle, and throw away. If you have years’ worth of clutter, hiring a skip bin for mixed waste can make this stage much easier, letting you clear bulky items like old shelving, boxes, worn-out furniture, and non-working equipment in one go.
Step 5: Strip out and demolish what you don’t need
Once the garage is empty, it’s time for demolition. This might include removing old internal linings, insulation, built-in benches, storage units, and sometimes parts of the existing slab or walls. In some conversions, you may also need to cut new openings for windows, doors or plumbing, which can generate a lot of rubble and dust.
Demolition is usually when the most waste is created, from old bricks and concrete through to timber framing and plasterboard. To stay organised and reduce trips to the tip, recycling construction waste through a skip is a smart option, as suitable materials can be sorted and repurposed at a licensed facility instead of going straight to landfill.
Step 6: Upgrade the structure and make it weather-tight
A garage built just for car storage may not meet the structural or weatherproofing requirements needed for a habitable granny flat. You might need to upgrade foundations, add or adjust framing, install bulk insulation, and replace the garage door with a solid wall, windows or a sliding door. Ensuring proper waterproofing around slabs, walls, and wet areas is critical for long-term comfort and durability.
During this phase, offcuts of timber, old framing, removed roofing, and broken bricks or tiles can pile up quickly. Choosing the right skip bin size for your project means you can safely dispose of heavy materials without overloading your bin or your budget.
Step 7: Rough-in services – plumbing, power and data
Next comes the rough-in stage, where your licenced trades run new plumbing lines for the bathroom and kitchenette, install electrical wiring, lighting, power points and, if required, data cabling or air conditioning. This is when walls may still be open, making it easier to check everything is in the right place before lining.
The rough-in stage can create a mix of offcuts, packaging, cable reels, and plumbing waste. Keeping a dedicated area or skip for renovation waste on-site helps your tradies work more efficiently and reduces the risk of trip hazards around your property. Bulkier rubbish can go straight into a general waste skip rather than piling up inside or outside the garage.
Step 8: Frame, line and insulate the space
Once services are roughed in, you can close up the walls and ceiling. This usually includes additional framing where needed, installing insulation batts, then lining with plasterboard or other wall systems. Good insulation and sealing make a big difference to comfort, especially during Adelaide’s hot summers and cool winters.
Cutting and fitting these materials often leaves you with plasterboard offcuts, insulation scraps and other light construction waste. Instead of trying to squeeze everything into your kerbside bins, ordering a construction waste skip can help you keep the construction site clean so you can move straight on to painting and fit-out.
Step 9: Fit-out, flooring and finishes
With the structure in place, you can focus on making the granny flat feel like home. This step includes installing kitchen cabinetry, benchtops, bathroom fixtures, internal doors, skirting, architraves, wardrobes and flooring. You’ll also paint the walls and ceilings and add any built-in storage or shelving.
Fit-out generates lots of packaging – think cardboard, plastic wrap, foam, plus offcuts of flooring, trims and tiles. If you’re tackling the project yourself, a small to medium skip bin can save you multiple trips to the recycling centre and help you finish faster. For bigger conversions, long-term skip hire can be useful if you’re working over several weeks and want to keep waste under control the whole time.
Step 10: Furnish, landscape and do a final clean-up
The last step of your garage to granny flat conversion is all about comfort and kerb appeal. Once painting and flooring are complete, you can bring in furniture, window coverings and decor, then tidy any paths or garden beds around the new entrance. Simple landscaping, lighting and clear access make the granny flat more welcoming and safer to use at night.
A final deep clean – inside and out – will help you spot any remaining defects or touch-ups. If you still have leftover rubbish, green waste from minor landscaping, or old items you decided not to keep, hiring a skip bin can help you clear it out in one go, so the granny flat is ready to use.
Turn your garage to granny flat conversion into a smooth project with Just Skips
A garage to granny flat conversion is a great way to add value and flexible living space to your Adelaide property, but it will always come with a fair share of mess. From the first declutter of your garage right through to the final clean-up, having the right skip bin on-site makes every stage safer, faster and less stressful.
Whether you’re a homeowner, renovator, builder or tradie, Just Skips offers reliable skip bin hire across the Adelaide metropolitan area with sizes to suit every step of your conversion. Book your skip online today so you can focus on creating a comfortable new granny flat – and leave the waste removal to us.
FAQ
How much would it cost to convert a garage into a granny flat?
Converting a garage into a granny flat in Adelaide typically costs between $35,000 and $180,000, depending on the size, finishes, whether plumbing and electrical upgrades are needed, and labour rates. Basic conversions focusing on essentials like insulation and basic fit-out can start around $5,000–$25,000, while full self-contained units with kitchen and bathroom often hit $75,000–$100,000 or more. Factor in council fees, materials and waste removal to get an accurate quote from local builders.
Do I need planning permission to convert my garage into a granny flat?
Yes, you generally need planning and building approvals for a garage to granny flat conversion in Adelaide, even if it’s under 70 square metres in many areas. Many councils allow “deemed-to-satisfy” pathways via a private certifier for eligible sites, avoiding full council assessment, but you must comply with setbacks, zoning and the SA Planning Code. Always check with your local council or a certifier early to confirm requirements.
What is the cheapest way to convert a garage?
The cheapest garage conversion involves keeping it simple by replacing the garage door with a large window suite to match the opening, adding basic insulation, lining walls and ceiling with plasterboard, and installing a new floor without adding wet areas like bathrooms. This approach typically costs $10,000–$30,000 in Adelaide and can be done DIY for some elements to save on labour. Always check council approvals first to ensure compliance.
People also read:
Skip Bin Sizes for Construction Waste: A Guide for Tradies