Replacing A Retaining Wall On Your Property
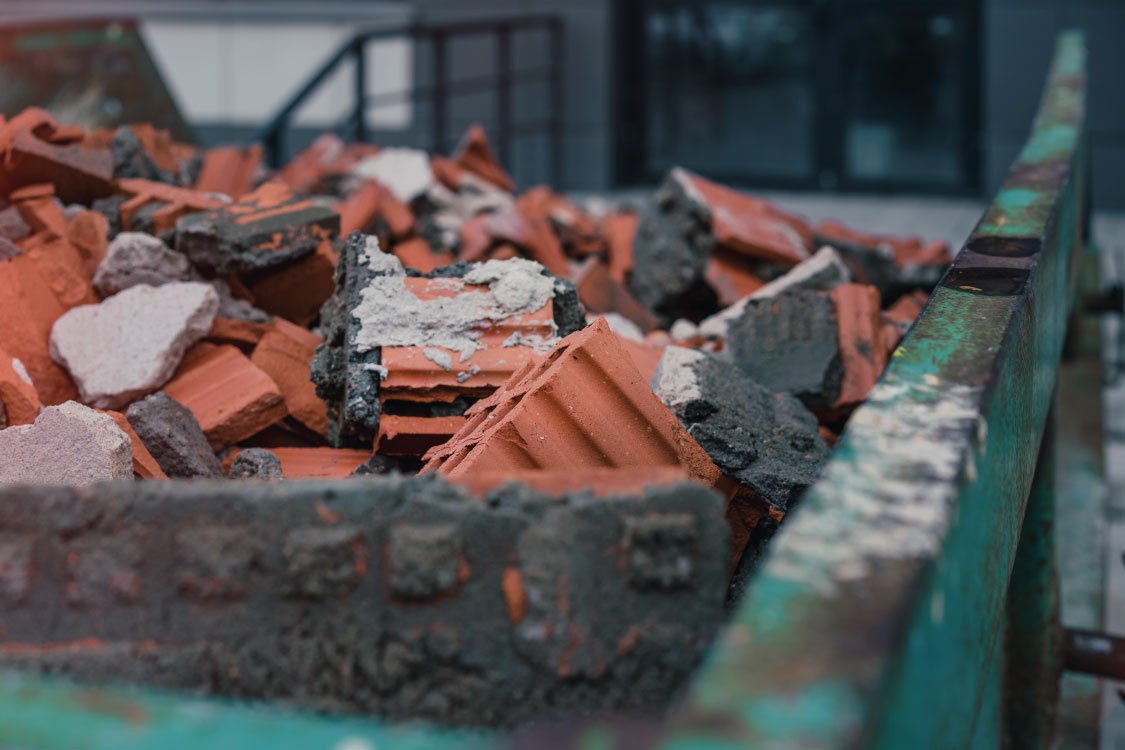
When it’s time to replace a retaining wall on your property (and it’s not just a ‘someday’ plan anymore), you’ll need a good game plan. You’ll need quality materials to build your new wall, and a construction waste removal skip bin to dispose of the old materials safely.
There is also plenty of planning and preparation involved, from choosing the right materials and finalising the design before you start, to building the wall itself. We’ll take a look at what you need to consider throughout the process.
Overview
The Importance and Functions of Retaining Walls
Designing The Replacement Retaining Wall
How To Replace Your Retaining Wall
Call Just Skips For A Safe and Debris-Free Workspace
The Importance and Functions Of Retaining Walls
Don’t underestimate the role a retaining wall plays in your front yard or backyard.
Retaining walls keep soil where it belongs, stopping earth from higher ground sliding or eroding down onto lower areas. They’re great for managing sloping or uneven terrain on your property. Plus, they help prevent flooding by diverting rain and groundwater away from structures on your property.
Signs That You Need To Replace Your Retaining Wall
A strong retaining wall offers plenty of benefits, but like all things, it won’t last forever. Keep an eye out for these warning signs:
- Leaning or tilting can indicate issues with structural integrity.
- Water stains suggest you may have problems with the drainage system in place.
- Cracks in the retaining wall mean it is struggling to hold the soil back and is on the verge of collapse.
If you notice any of these red flags, consider replacing your retaining wall sooner rather than later.
Planning And Preparation
Like any major home improvement or garden renovation project, planning and preparation for replacing your retaining wall are crucial.
Assessing The Current Wall
First and foremost, you’ll need to assess your retaining wall, especially if you’ve spotted some warning signs.
Start by carrying out a visual inspection of your wall for any indicators of structural integrity or drainage issues. For peace of mind and a detailed report, hiring a licensed building inspector is the way to go.
Obtain The Essential Permits
According to the Legal Services Commission of South Australia, you’ll need development approval for any excavation or land filling associated with constructing a new retaining wall.
But what about replacing a retaining wall that is already built? You may still need to get permission, either from your local council or a relevant State Government department. It’s best to check directly with your council to confirm what approvals you need before you start.
Choosing The Right Materials
When it comes to replacing your retaining wall, picking the right materials is one of the most important decisions you’ll make.
Types of Materials Available
Most Australian retaining walls are built from one of three main options: concrete, timber, or stone. Which option you choose can depend on several factors such as durability, aesthetics and cost.
Concrete sleeper retaining walls are highly durable and could last for decades. However, they come with a higher price tag thanks to their weight and the extra labour they need.
Timber sleepers look great and are often easier to install. However, wood can warp, twist and split over time, so you may need to hire a skip bin sooner than you’d imagined when it’s time for repairs or replacement.
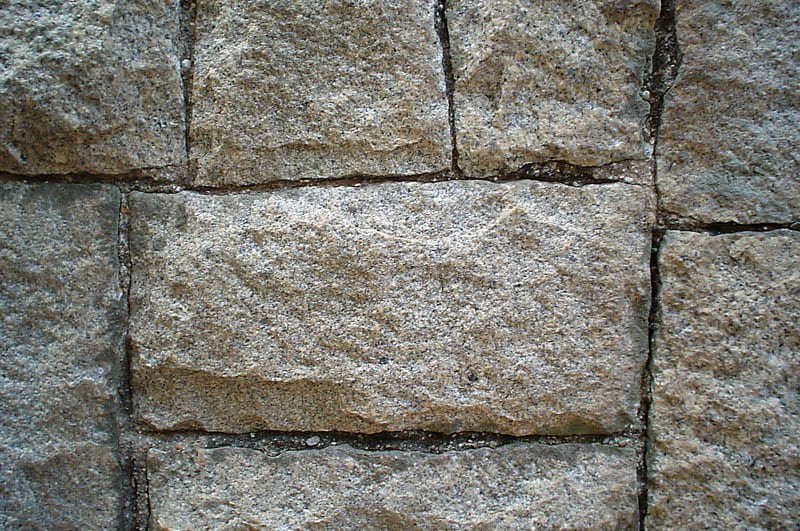
Stone retaining walls remain highly popular for their flexibility in design and their structural integrity. However, like concrete walls, expect the construction process to take a while.
Designing The Replacement Retaining Wall
Once you’ve picked your materials, it’s time to get your design right. There are some key regulations and compliance factors you need to consider.
Calculating Wall Size and Load Requirements
In South Australia, you will need to lodge a development application through the Plan SA website if your retaining wall supports a difference in ground levels that is greater than one metre.
You must also do so if:
- You have more than one retaining wall in a tiered design where the total difference exceeds one metre.
- The total height of your wall exceeds 2.1 metres at the lowest side.
Designing for load requirements means making sure your retaining wall can handle everything pushing against it: the soil weight, anything sitting on top, groundwater pressure, and its own weight.
Incorporating Drainage Solutions
One of the most important elements of any retaining wall design is the inclusion of drainage solutions. Drainage is essential for any retaining wall. Rain and groundwater need a way to escape so they don’t oversaturate the soil behind your wall.
Too much water makes soil heavier, which puts extra pressure on your wall and may cause it to fail. A good drainage system keeps your wall standing strong for years to come.
How To Replace Your Retaining Wall
With permits acquired and designs locked in, now you’re ready to start replacing your retaining wall. Here’s what to do step-by-step.
1. Removing The Old Retaining Wall
Start by carefully taking apart the old wall. If it’s a concrete or stone wall, make sure you have a brick and concrete skip bin on site to load up the debris. For treated wood like sleepers, use a general waste or mixed waste skip bin. Timber that has been treated with paint, varnish or any other chemicals should never go in a green waste skip bin.
As you take the old wall apart, make sure to support the surrounding soil so it doesn’t collapse.
2. Prepare The Foundation
Dig out the trench to the necessary depth and width for your new retaining wall design. Make sure you have an even and firm base across the whole length of the wall. To make sure your wall stays stable and performs well for the long term, it needs a stable and compact foundation.
If you have any excess soil as a result of the excavation, dispose of it in a skip bin for soil, dirt and sand.
3. Install The Base Level
Now that you have the trench, it’s time to add a layer of crushed stone base material. Pack it down firmly so you can create a footing that is dense and level. Once you’ve got this down, lay the first level of retaining wall materials onto the base.
4. Build The Wall Structure
Add the next layers, making sure not to go over the height limit. With each course, ensure you have sufficient drainage gravel and keep compacting the soil as you go.
5. Install The Drainage System
To maintain effective drainage and avoid soil saturation, you’ll need to install a perforated drain pipe behind the base level of your wall. Surround the pipe with drainage gravel – this will help to collect hydrostatic pressure.
6. Last Checks, Touches and Inspections
Finally, if you’re building a stone retaining wall, use a strong adhesive to install the capstones. Otherwise, give your wall one last inspection (or have a professional do it) to make sure it’s level, solid, and draining properly.
Call Just Skips For A Safe and Debris-Free Workspace
When replacing a retaining wall at home becomes necessary and you need to dismantle and dispose of the old wall, Just Skips has all your skip hire needs covered. We offer a variety of skip bin sizes for every job, and can deliver bins all across Adelaide.
Whether you need your skip for a day, a week, or even longer, give us a call or hire a skip online.
FAQ
Can you replace a retaining wall?
Yes, you can replace a retaining wall, especially if the existing structure is no longer able to support the weight behind it. Just make sure you pick the right materials for your new wall, have a solid drainage plan in place, and follow all your local Government regulations to keep everything above board and safe.
Do I need council approval to replace an existing retaining wall?
In South Australia, you usually won’t need development approval to build a retaining wall if it:
- Is under 2.1 metres in height.
- Retains a difference in ground levels that is less than one metre.
- Consists of two or more walls tiered together, retaining a ground level difference of less than one metre.
However, it always pays to confirm with your local council.
Can I put treated wood sleepers in a green waste bin?
No, you can’t. The chemicals used to treat the timber can contaminate the green waste recycling process. Always dispose of treated timber or wood in mixed waste skip bins.
People also read:
Skip Bin Sizes For Construction Waste