Preparing Your Home for Painting in 3 Steps
Whether it’s been a few years since your walls got a lick of paint, or because you’re ready for a new look and colour, painting your interior walls is one of the least expensive ways to transform and bring more life into your home.
Not only does a new paint job add warmth and personality to your home, it can also be the perfect excuse to spend some quality time with your loved ones.
But before you whip out your paintbrush, it’s always a good idea to complete these 3 steps first to make sure you’re really ready to paint.
Step 1: Remove furniture and clutter

It should come as no surprise that you need to clear the house before you start your paint project. While you can cover your furniture with drop sheets if you want, stumbling over coffee tables and couches with paintbrush in hand is less than ideal.
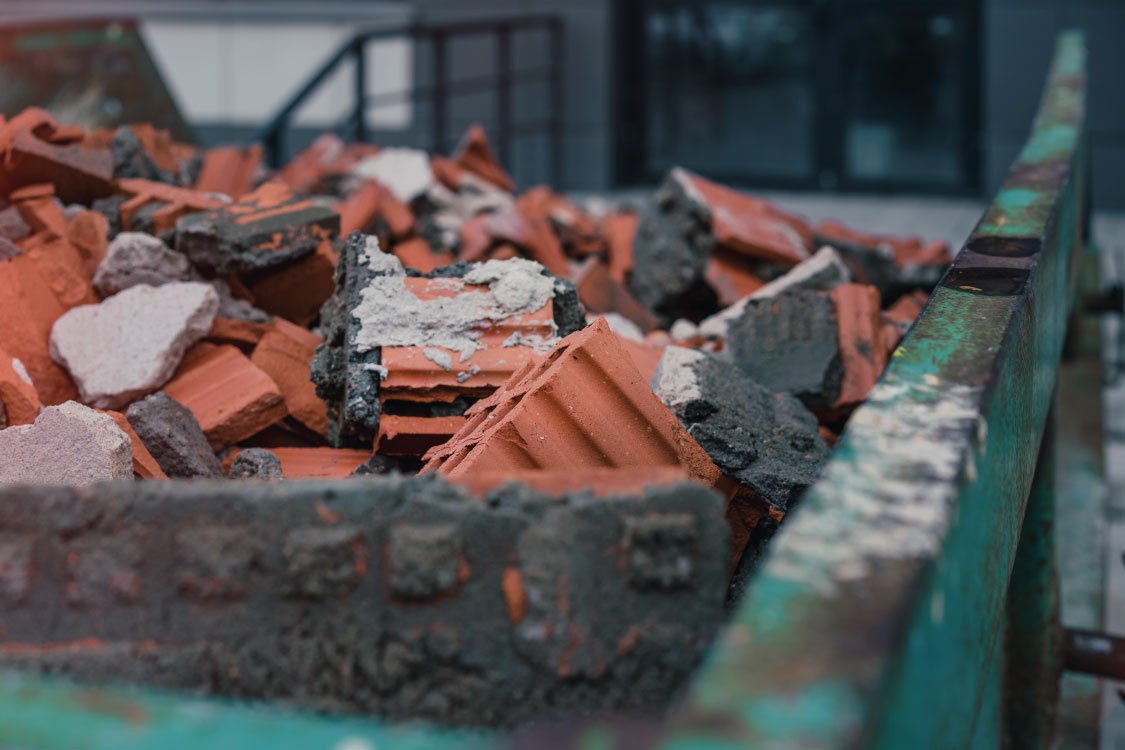
The good news is that as you begin to clear each room, you’ll inadvertently be spring cleaning too. It’s a perfect chance to kill two birds with one stone and finally get rid of all that clutter and junk that’s been piling up for years.
Anything you don’t want to hold onto or plop back into your new-look room can be easily removed in a skip bin. Hiring a skip is so simple and it’s the perfect way to make sure your rubbish stays in one place, without being an obstruction. You also won’t need to worry about disposing your rubbish, because we’ll gladly do that for you.
Our skips for hire come in different sizes, so depending on how much you want to get rid of, you can hire a small, regular, or large skip.
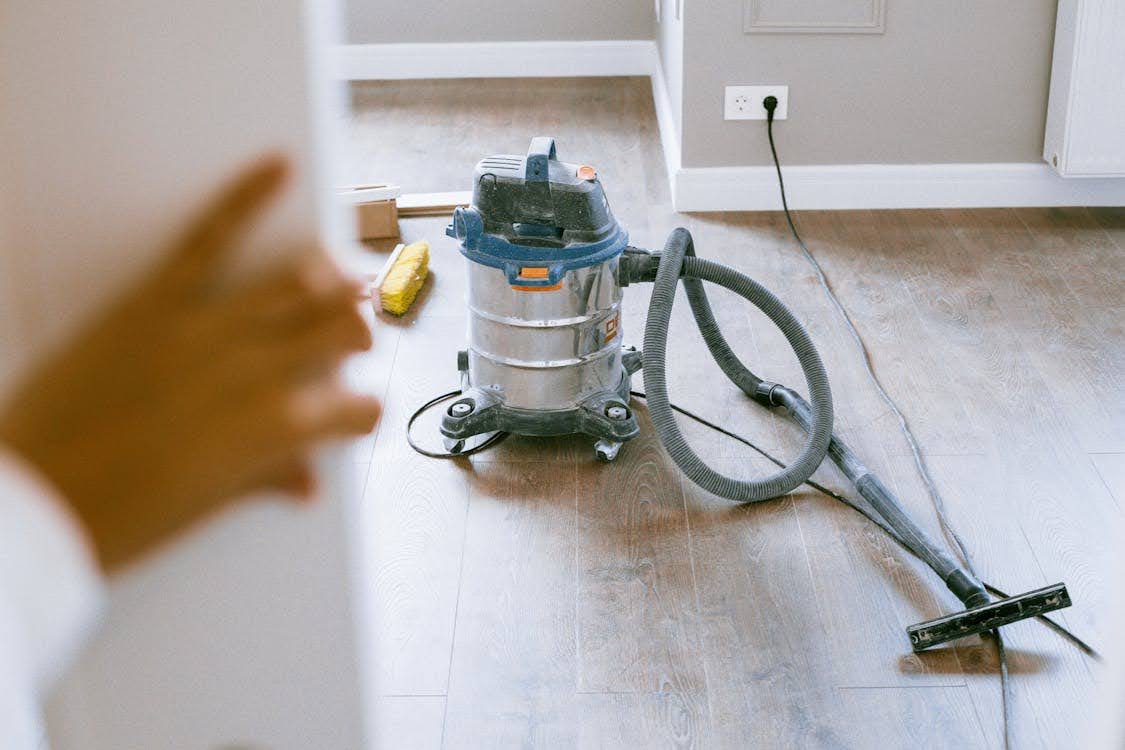
Step 2: Protect your flooring and clean your walls
To avoid ruining your floors, make sure you use drop cloths throughout each room that you intend to paint. Don’t make the mistake of only using newspapers, because these will typically move around as you walk all over them and paint tends to seep through them easily.
To keep your cloths in place, tape the edges along your baseboards and while you’re at it, tape your windowsills too, to avoid any accidental paint smearing. Although household tape works, a professional painter’s tape is best.
Another crucial step in preparing for painting is thoroughly cleaning all the walls that you want to re-paint because clean, uniform surfaces will give you the professional paint job you’re after.
Step 3: Set up a prep area
Setting up a prep area is an important step that most people miss. Instead of moving litres of paint from one room to the next, it’s better for you to set up one central area where all the paint brushes and cans of paint stay. The closer that area is to an exit, the better.
By doing this, you’ll avoid unnecessary spillage as you open and close cans of paint, or mix different colours. If you’re getting help, this step will help everyone to know where all the tools are and not waste time looking for misplaced rollers.
Additionally, after you finish painting, it’ll be much easier to clean up your home and dump all the empty cans of paint in your skip bin.
Bonus step: Remove power outlet covers and light fixtures
Ever wondered why you can see visible paintbrush strokes around power and light fixtures?
It’s because most people paint around them, rather than removing them for one smooth look. If you’re painting your ceiling, don’t forget to remove light fixtures too, to avoid painting over them by mistake.
Of course, you’ll need to be extra careful if you have young children around and it’s recommended that you switch off the electricity before removing any fixtures.
By following these simple steps, you’ll make your painting much easier and more enjoyable. Now that you’ve finished your home for painting, you can start renovating your space one stroke at a time.
For more information about de-cluttering your home and hiring a skip, check out our blog. Also check out our latest blogs about how to dispose of electrical appliances, how to dispose of car tyres and how much are skip bins to hire.